How to Make Gift Boxes
Make Your Gifts Stand Out with These DIY Gift Box and Creative Container Ideas...
When it comes to homemade gifts, packaging is important! For this reason, learning how to make gift boxes is a very hand skill...
Your gift packaging is your gift recipient's first impression and it speaks volumes of the amount of love, energy and care you put into your homemade gift...
Whether that first impression is accurate or not, it will certainly effect the way your homemade gift is received!
So please feel free to check out the following tutorials on DIY gift boxes and maybe then drop by and print out a few free printable gift tag templates so that your wrapped up homemade gifts always look as amazing as they are.
Following is a step-by-step example of how to make a simple gift box with just paper, glue and the most basic tools...
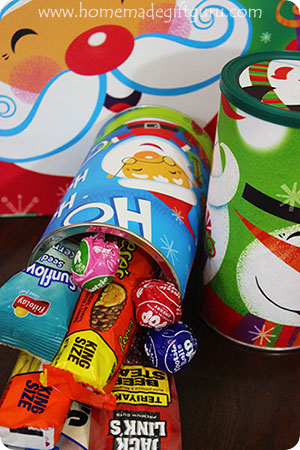
Scroll down further for origami boxes, origami box towers, boxes with clear tops and super awesome up-cycled canisters.
How to Make a Gift Box with Paper, Glue and Basic Supplies...
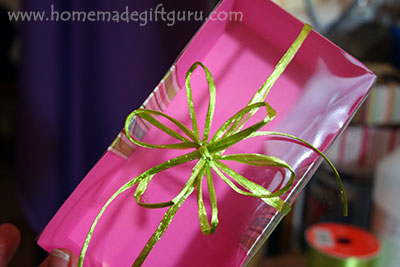
The first question you'll need to ask yourself is... how big do I want my box?
This tutorial is geared toward boxes that you can make
with one piece of paper, preferably card stock...
Most common sizes of card stock will be 8 1/2 x 11 and 12 x 12... you can make some very cute sized boxes by starting with these and cutting them to size.
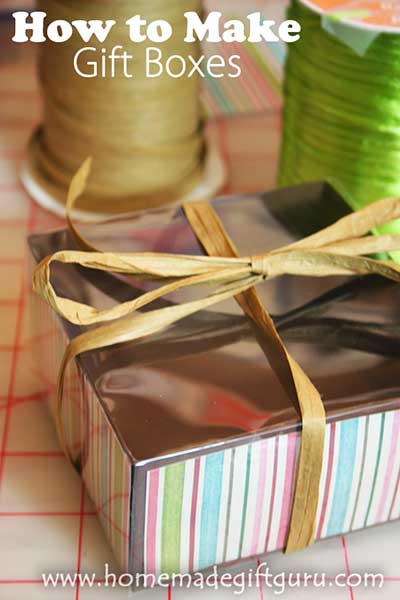
Though the photo here shows that I made a clear lid for this box (learn more about making gift boxes with clear lids here), you can make your lid in the same way that you make your box but starting with paper that is 1/4 inch bigger on two sides.
To Determine Your Own Custom Size... start with a piece of heavy paper such as card stock. Determine what size box you want and size the paper using the formula below...
Your paper should be cut to height + width + height by height + length + height (read on to learn more).
You'll Need:
- Heavy Paper such as card stock
- Scissors or Craft Knife
- Ruler
- Bone Folder or back of butter knife (for scoring paper)
- Adhesive such as a glue stick or glue runner
To Make Gift Boxes...
1. Cut Paper. For this cute little 6" x 3" rectangular box with 2" sides... I started with a piece of paper 7" x 10"
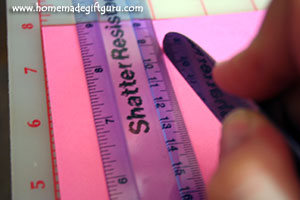
2. Score Paper. If the sides of your box will be 2" tall
like the box shown, you will want to score 2" in on all four sides. If
the sides will be another size, use that measurement in place of the 2".
Tip... If you don't have a tool such as a bone
folder to use for scoring paper, it's easy to use the back of a butter
knife like I did here.
3. Make Four Cuts. Making only 4 cuts, cut in to the opposite score line from two of the edges as shown.
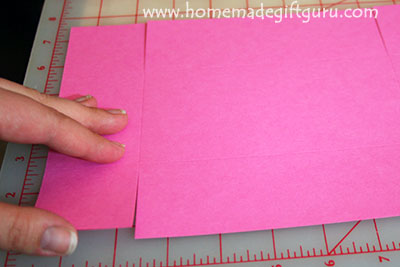
4. Fold. Fold all the scored lines and assemble the box as shown.
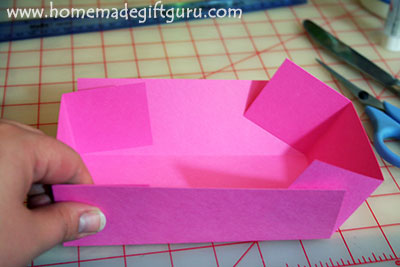
5. Glue. Glue the flaps to the insides of the box.
6. Optional... reinforce as needed and decorate as
desired... when you make gift boxes using these simple instructions,
your decorations can also reinforce as shown below!
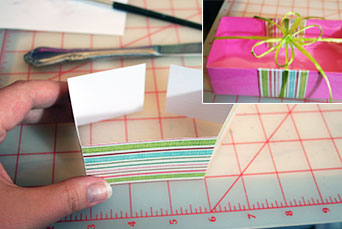
Tip... If your box needs to be sturdier, you can cut some additional card stock in strips to either cover the sides (inside or outside), cover the inside bottom or to simply look decorative as I did here... this will make your box look and feel even more sturdy.
For Different Sized Boxes... Again, this technique will work with various sized rectangles and squares. Size your paper height + width + height by height + length + height and use the height measurement to place the score lines.
That's how to make gift boxes!
More DIY Gift Boxes and Ideas...
Origami Box. Some of my favorite homemade gift boxes to make are origami boxes. With origami boxes, you can choose just about any paper you like! After you've practiced once or twice, you will be able to easily make gift boxes as small as 2 x 2 inches and as large as 4 x 4 inches simply by folding paper you have lying around. It's a great last minute gift packaging technique and a skill that's very much worth learning!
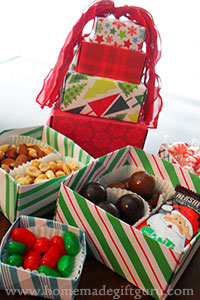
Origami Box Tower. There are many things you can do with origami boxes. For example, you can make several boxes in consecutive sizes and stack them together for your very own cute and trendy origami gift box tower.
Clear Lids Are So Cute.... Another fun thing to do? Rather than making your lid with paper, you can make it clear. Here is a tutorial for making boxes with elegant clear tops.
