Decoupage Projects Make Great Homemade Gifts...
Gifty Decoupage Projects - Easy or Mysterious?
For a long time decoupage projects and the craft of decoupage was a mystery to me. I knew it was supposed to be easy, but I didn't know how to do it.
I often ran into beautiful homemade gift ideas, that used decoupage, but the instructions left a bit to be desired. My decoupage craft projects never seemed to turn out perfect.
After a while, I realized it was time to get down to basics and learn this simple craft.
Below you will find a few important tips I learned along the way, a link to more in-depth instructions and some decoupage projects to get you started.
Decoupage for Homemade Gifts...
Decoupage is a fun craft involving cutting, pasting and varnishing. It can be very simple or very intricate, it's all up to you.
What makes decoupage projects great for homemade gifts, is that you can design your project around the person you are making it for.
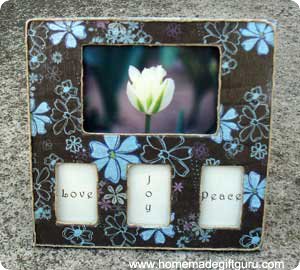
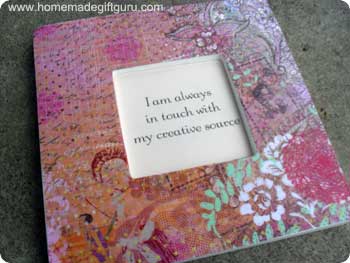
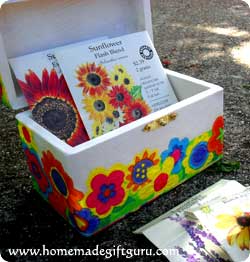
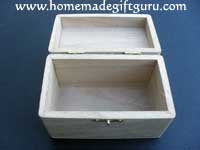
For example, as long as you can find the right images, you can decoupage a box with a theme perfectly suited for your gift recipient. That may be a favorite sport or sports team, flowers, characters, colors, words or a favorite animal.
Finding the right images may mean tracking down party napkins (like I did with this napkin decoupage box), wrapping paper, using an old calendar or greeting card... maybe even a newspaper, magazine or stickers.
And, whether you use decoupage for the basis of your homemade gift or just a finishing touch - it's easy to learn and very affordable.
Five tips and tricks to save you from disappointment...
- Moisten Paper Before Gluing Down: Do this to prevent wrinkles. Whatever paper design you decide to glue down, it's a good idea to moisten the paper before you glue it. A spray bottle will do the trick. Just mist the paper, watch it curl as it tightens and then flatten out as the fibers relax. Now glue down your paper and watch it dry with no wrinkles!
Tip: Moist paper is very delicate, so take extra care not to tear it or rub away the surface when applying it to your project.
- Modge Podge is not Varnish: While Modge Podge (decoupage glue) can be used as glue and some people water it down and use it as sealer, it is not a varnish. Real varnish is wonderful to work with whether it is water based or oil based (oil based is smelly). Real varnish is self leveling, meaning it dries in a smooth flat layer, where Modge Podge used as sealer tends to leave brush marks and stay thick and rubbery feeling.
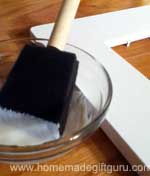
- Foam Brushes For Glue: Use cheap foam brushes for applying glue. If the glue dries at all, it will ruin the brush and you don't want to have to throw out nice brushes. Even if it doesn't dry, a paint brush used for glue is often never the same. At the very least, designate a brush just for glue.
- Soft Wide Brushes for Varnish: It's helpful to choose a wide soft brush for applying varnish evenly. Goat hair brushes are a great choice and there are inexpensive options at most craft stores. The soft bristles will help you get the smoothest finish.
- Seal Surfaces: In the interest of longevity, apply your paper to sealed surfaces only. For example, paint a wooden base with acrylic paint or stain it. If you don't, moisture can still get to the paper from underneath and cause problems later on.
For more in-depth decoupage project tips, tricks and instructions, check out these decoupage instructions.
For even more creativity and special effects, learn about decoupage supplies, what supplies you absolutely have to have and what supplies you might enjoy for special effects.
